Ahoy there and welcome to my life. One of my greatest pleasures is sharing food and friendship, so I'm glad you're here and I hope you stay for dinner.
Join The Cooking Dish newsletter and receive special newsletter-only offers, tips, and more. I will NEVER EVER spam you.
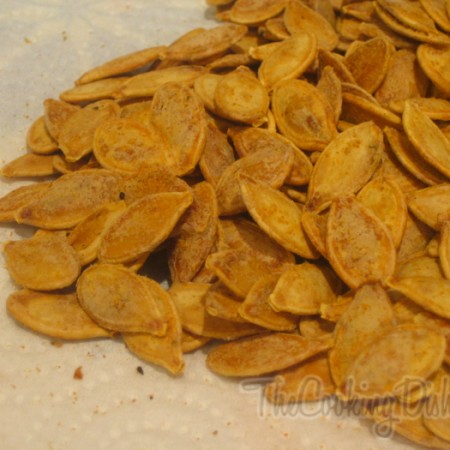
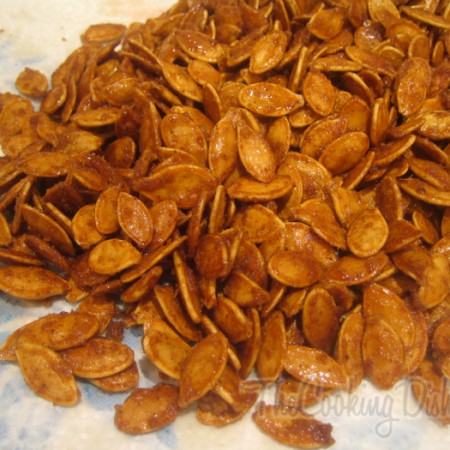
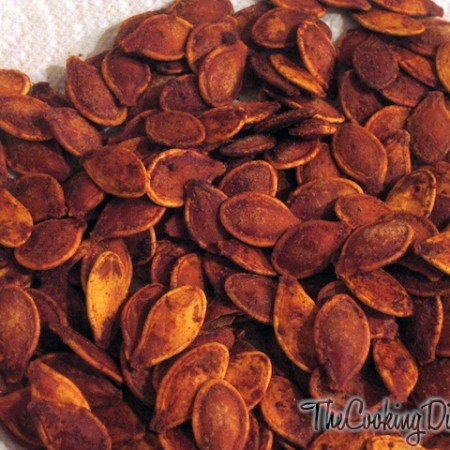
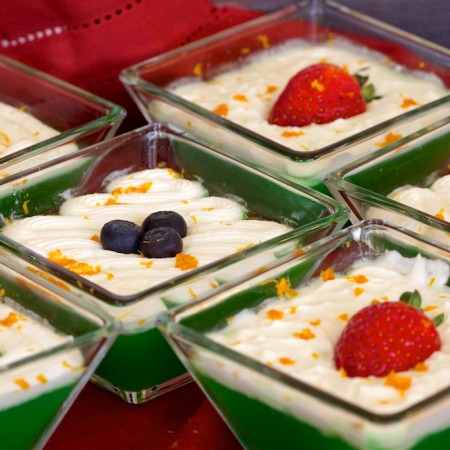
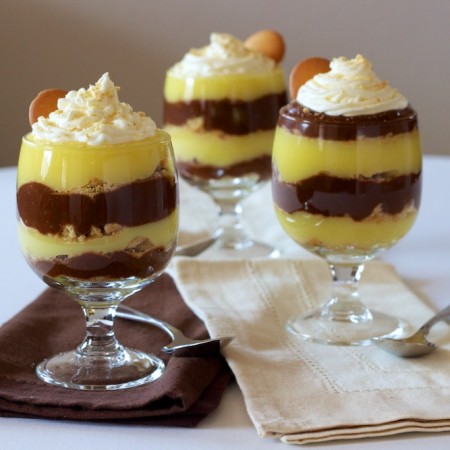
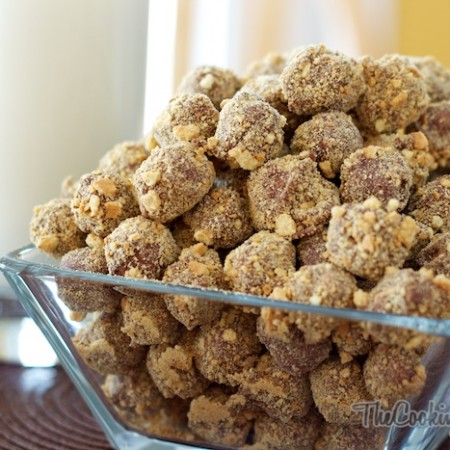
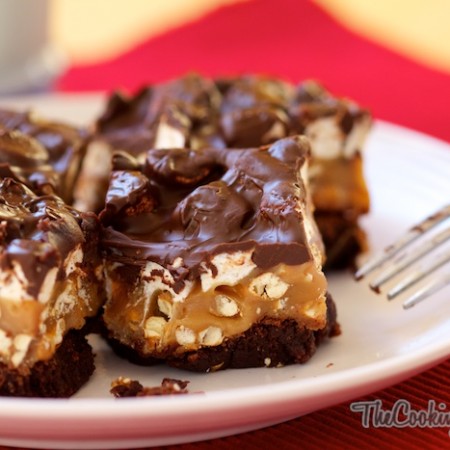
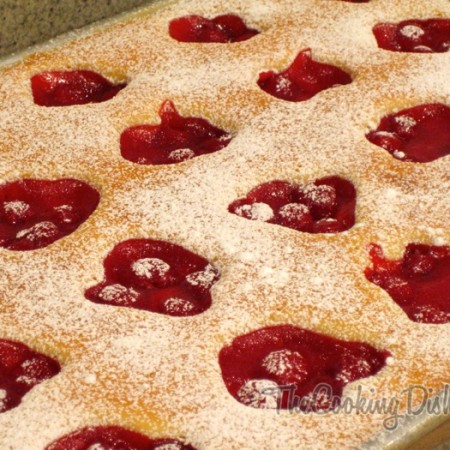
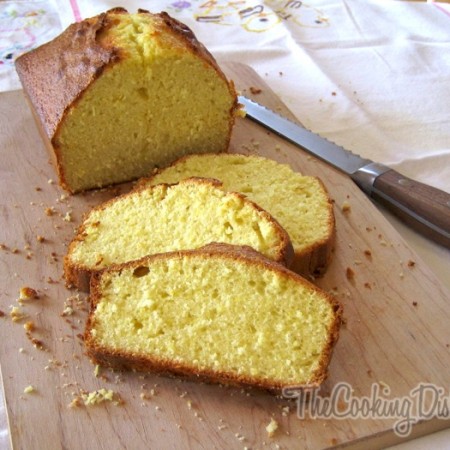
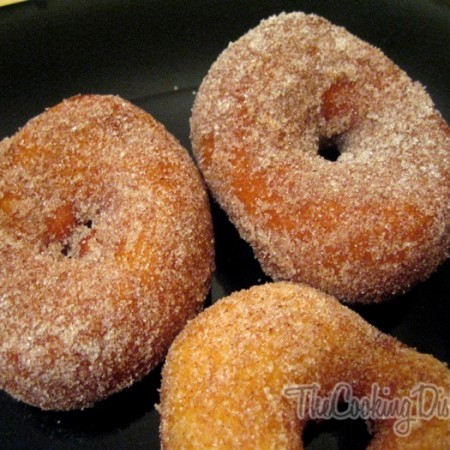
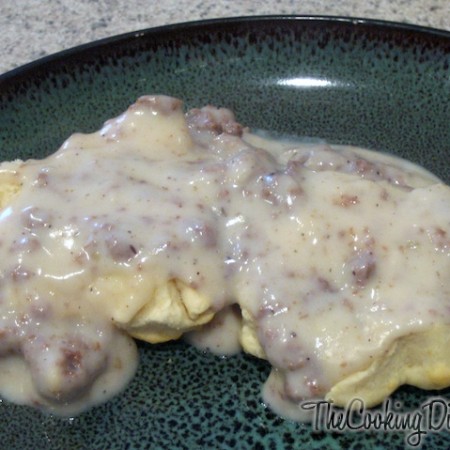
Recipes
Welcome to my kitchen! This is where the crazy stuff happens. Sometimes between all the spilled milk and burned toast, a delicious creation is born; when it is, I write a little something about it and post it here.
If you really want to make a friend, go to someone’s house and eat with him… the people who give you their food give you their heart.
From the Blog
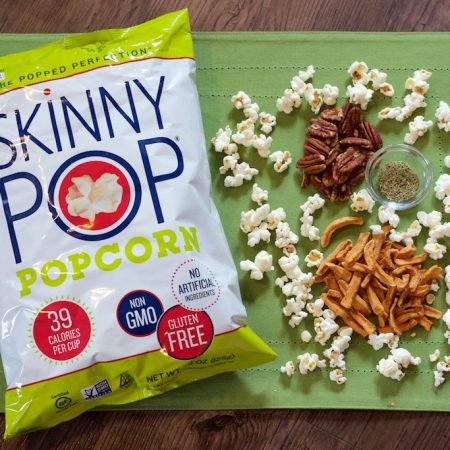
This is where you and I embark on an adventure into my wandering mind. I'll share with you what I'm learning and thinking about (along with many other strange and wonderful thoughts), so grab some popcorn and let's chat!